


How to use Tarp as a Groundsheet
20th Jan 2026
A tent tarp or groundsheet might seem relatively unimportant in your camping packing but can be crucial for comfort and tent longevity. It is essential in preventing dampness, abrasion, and dirt, so in this guide, we take a look at why you need it and how to choose one, as well as providing you with some essential sizing and placement tips and step-by-step setup guidance.
Why you need a groundsheet?
 Tent floors can be extremely expensive and are easily damaged by things like rocks, sticks, and rough terrain. A tarp can therefore act as a sacrificial layer that absorbs any scrapes and punctures, extending the life of the tent floor.
It acts as an effective water barrier, as ground moisture can often seep through even the most waterproof tents, leaving everyone feeling uncomfortable and ruining belongings. This extra waterproof layer helps to reduce the chance of dampness rising through the tent floor and keeps the interior dry during rain or morning dew.
A tarp can also help to keep the base of the tent clean from mud, sand and debris. This can be an important feature of making packing much easier, as it prevents staining and protects the zips and fabric of your tent from grit damage.
What to buy?
It is important to think about the material of your tarp or groundsheet. Polyethylene is ideal as it is durable, lightweight, waterproof and inexpensive compared with canvas or PVC, which are not only weighty and more expensive, but can sometimes be overkill.
The weight of your tarp can also be an important factor. Many will talk about GSM, which is the grams per square metre and is used to measure the thickness of the fabric. For most camping expeditions, economy (80GSM) or standard (110GSM) are sufficient. You might think you are taking a safer approach with heavy duty tarps, but these tend to be unnecessary for casual camping and only make your packing bulkier.
The colour of your tarp is more important than you might think, as dark colours like green and blue are more effective at hiding dirt and stains. Lighter colours might look clean, but they will show mud very quickly which is incredibly frustrating on longer trips.
There are also optional grommets or reinforced corners to think about. These can be useful in securing the tarp more easily but are not essential if you simply tuck the edges under the tent.
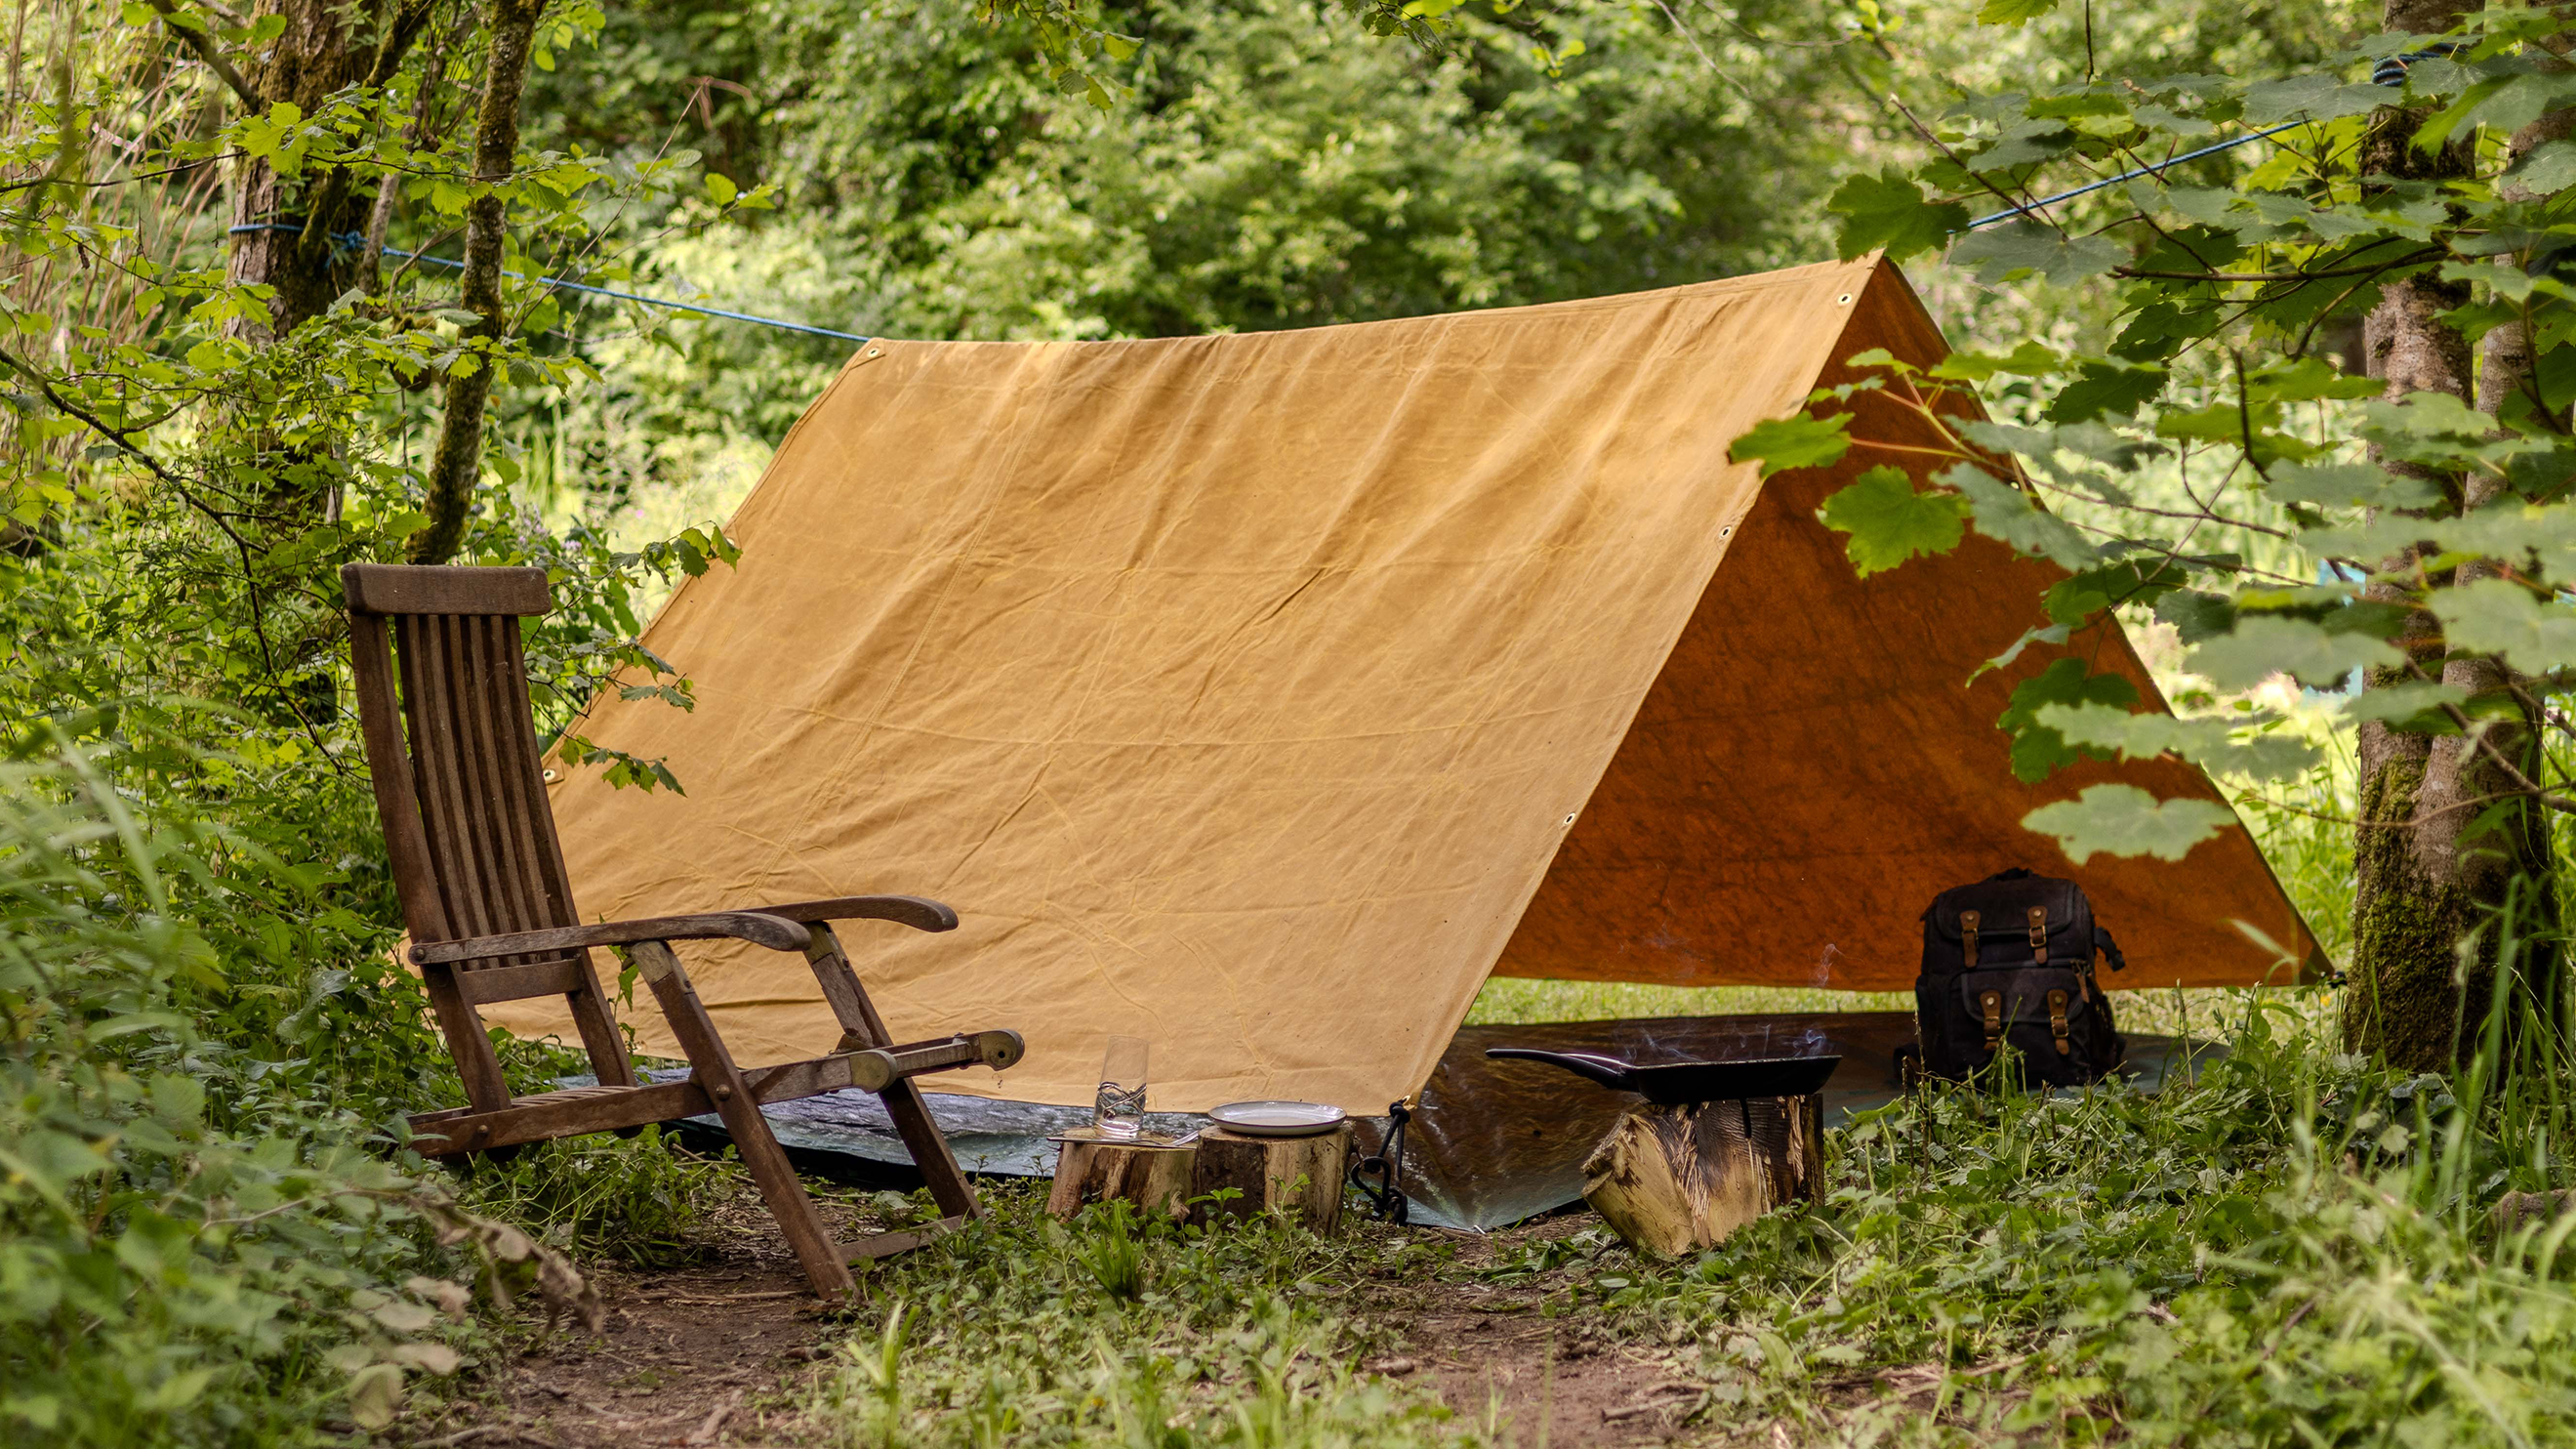
Sizing and placement
Your tarp should always be smaller than the footprint of your tent, as otherwise it is likely to collect rainwater and funnel it under the tent, creating puddles inside. If your tent is too big, make sure that you fold the edges under the tent perimeter neatly and ensure that it sits flat on the ground without any wrinkles that might cause uneven pressure on the tent floor.
Preparing the ground is also very important, so make sure that you clear any debris, rocks and sticks to prevent damage to both the tarp and the tent. If possible, try and slightly slope your placement to encourage water drainage away from the tent base.
Step-by-step setup
-
- You need to start by preparing your site, so remove any sharp objects and level the area where the tent will go. Then spread the tarp flat on the cleared ground and ensure that it covers the intended footprint, staying slightly smaller than the tent itself.
- The next step is to position the tent, so make sure it is placed directly on top of the tarp. You should then walk around the tent, adjusting the tarp so that all of the edges are tucked underneath.
- Make sure that any top edges are carefully tucked under the tent to prevent water pooling. The weight of the tent will keep the tarp in place, so additional anchoring is not usually needed for groundsheet purposes.
- If you are on uneven ground, then fold or bunch the top corners to reduce tension on the tent floor. If you are embarking on a longer trip, then make sure you periodically inspect your top to ensure that it has not shifted.
Additional tips for optimal use
Once you have your tent set up then you need to avoid walking on the tarp outside of it to prevent transferring dirt inside. In some cases, you may want to consider using a double tarp setup for very wet or muddy conditions. This means placing one tarp under the tent and using another one as a porch or entrance mat.
Some campers prefer to use a reflective top for added insulation as this can improve the warmth inside your tent during colder months. Portability can be an important factor, so lightweight polyethylene tarps are preferred as they are easy to carry without adding any significant weight to your packing.
The tarp is not a single use item, so you need to make sure that you maintain it and fold it correctly in order to extend its lifespan. After each trip, make sure to shake off any dirt, sand and debris before you fold it away.
If it becomes wet or muddy then allow it to air dry completely to prevent mildew or fabric degradation. Any small tears or punctures need to be repaired promptly using waterproof tape or a patch kit designed for polyethylene tarps.
When storing your tarp, keep it in a cool, dry place away from direct sunlight to help preserve its waterproof coating and prevent brittleness. With simple care, your tarp can last for many camping seasons.
Tent tarp underlay is a small but critical investment that can protect your tent floor, prevent water ingress, keep the tent clean and improve the overall camping experience for everyone.
Campers need to make sure that they are choosing the right size, material and placement for their tarp in order to ensure maximum comfort and tent longevity. Every camper needs to view their waterproof camping floor as standard gear for ensuring hassle free outdoor trips at any time of the year.
Shop Tent Tarp Groundsheets
Protect the base of your tent from water, mud, sand and moisture with our selection of waterproof tarp groundsheets designed for hassle-free setup and effective protection. Shop our range of tarpaulins here.

